What a Community Listing looks like
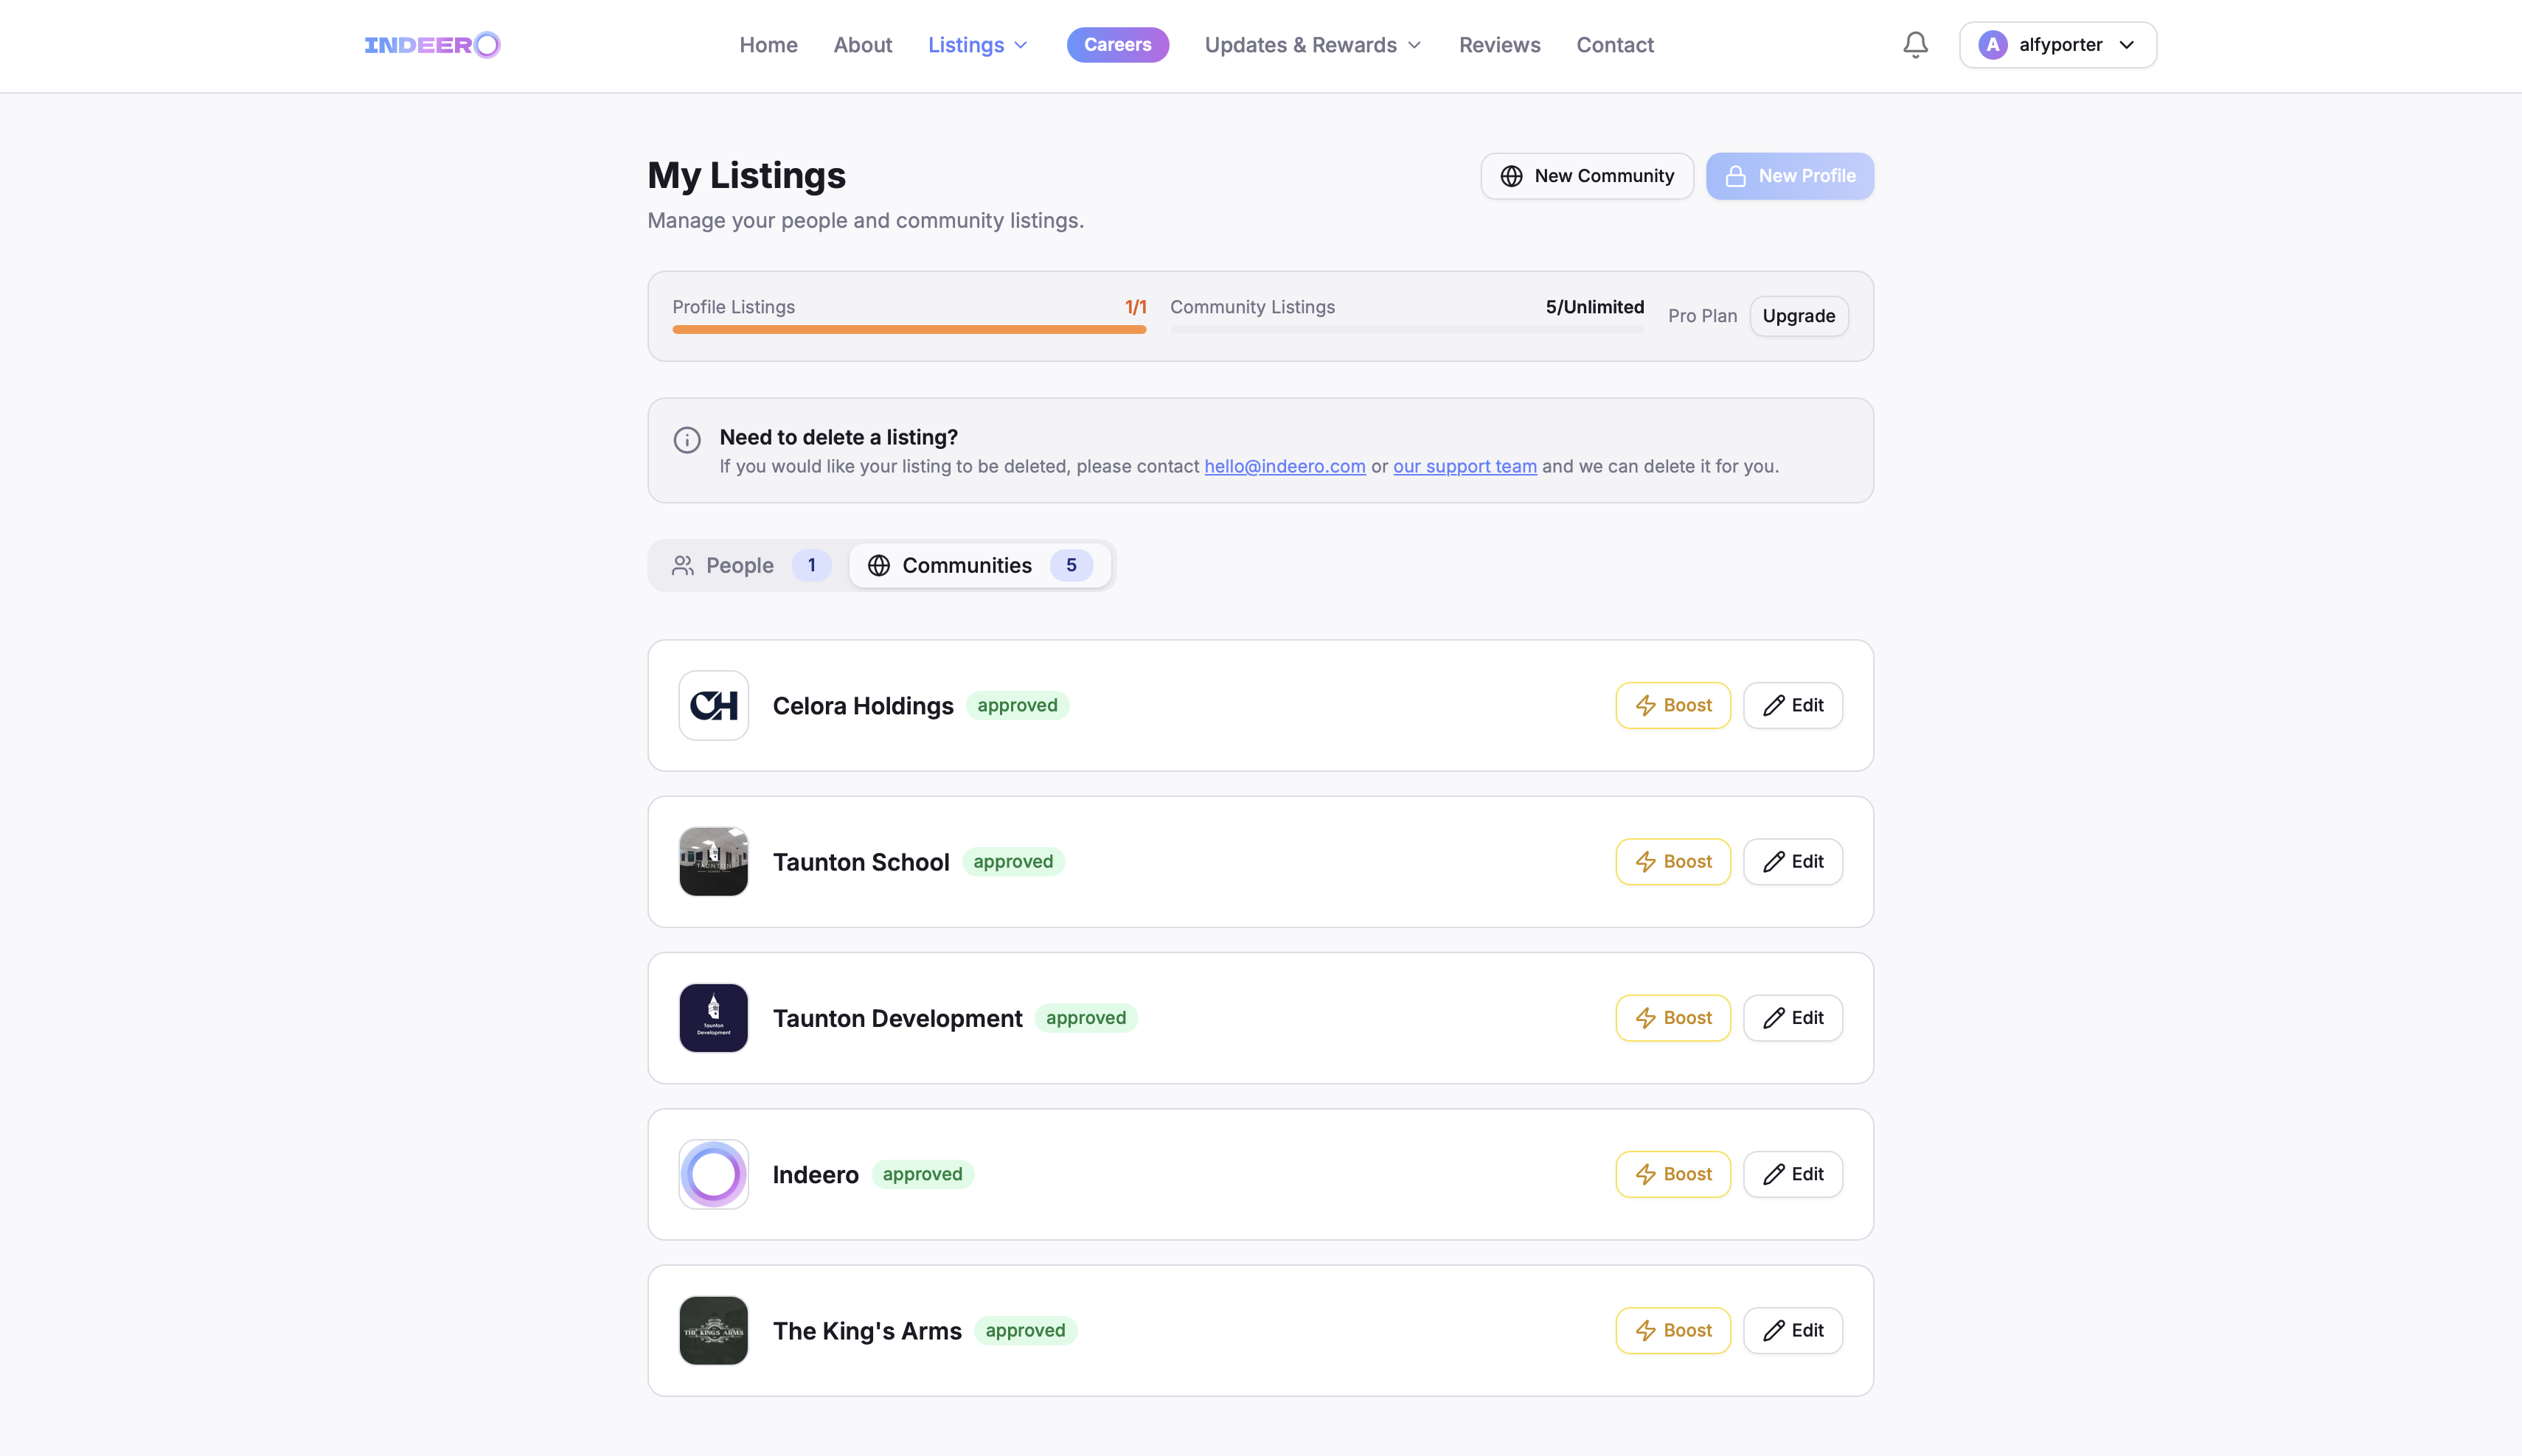
Your community appears in the public Community Listings directory with its logo, industry type, social links and invite links.

Get Your Community Discovered
Add your Discord server and Roblox group so players can find and join you.
Open My Listings and choose Community Listing
Go to My Listings and click Create Community Listing.
Add your community's identity
Start with the details that show on your public card:
- Community name — exactly as your members know it.
- Community logo — square images work best.
- Roblox industry type — School, Store, Aviation, Hospitality, Development or Other.
- About community — a description of who you are and what you offer.
- Standard language and SSU start time — so applicants know when you operate.
Link your Discord server and Roblox group
Add your Discord invite link and your Roblox group link. These are the links players click to join you, so make sure they never expire.
You can also add your website and social links (TikTok, Instagram, Facebook, X, YouTube, LinkedIn).
Submit for review
Submit your listing and it enters the review queue — usually processed within 72 hours. You can track the status from My Listings and update it any time.
Once approved, your community becomes publicly discoverable and can be linked to a Workspace to start posting vacancies.