

What a Workspace looks like
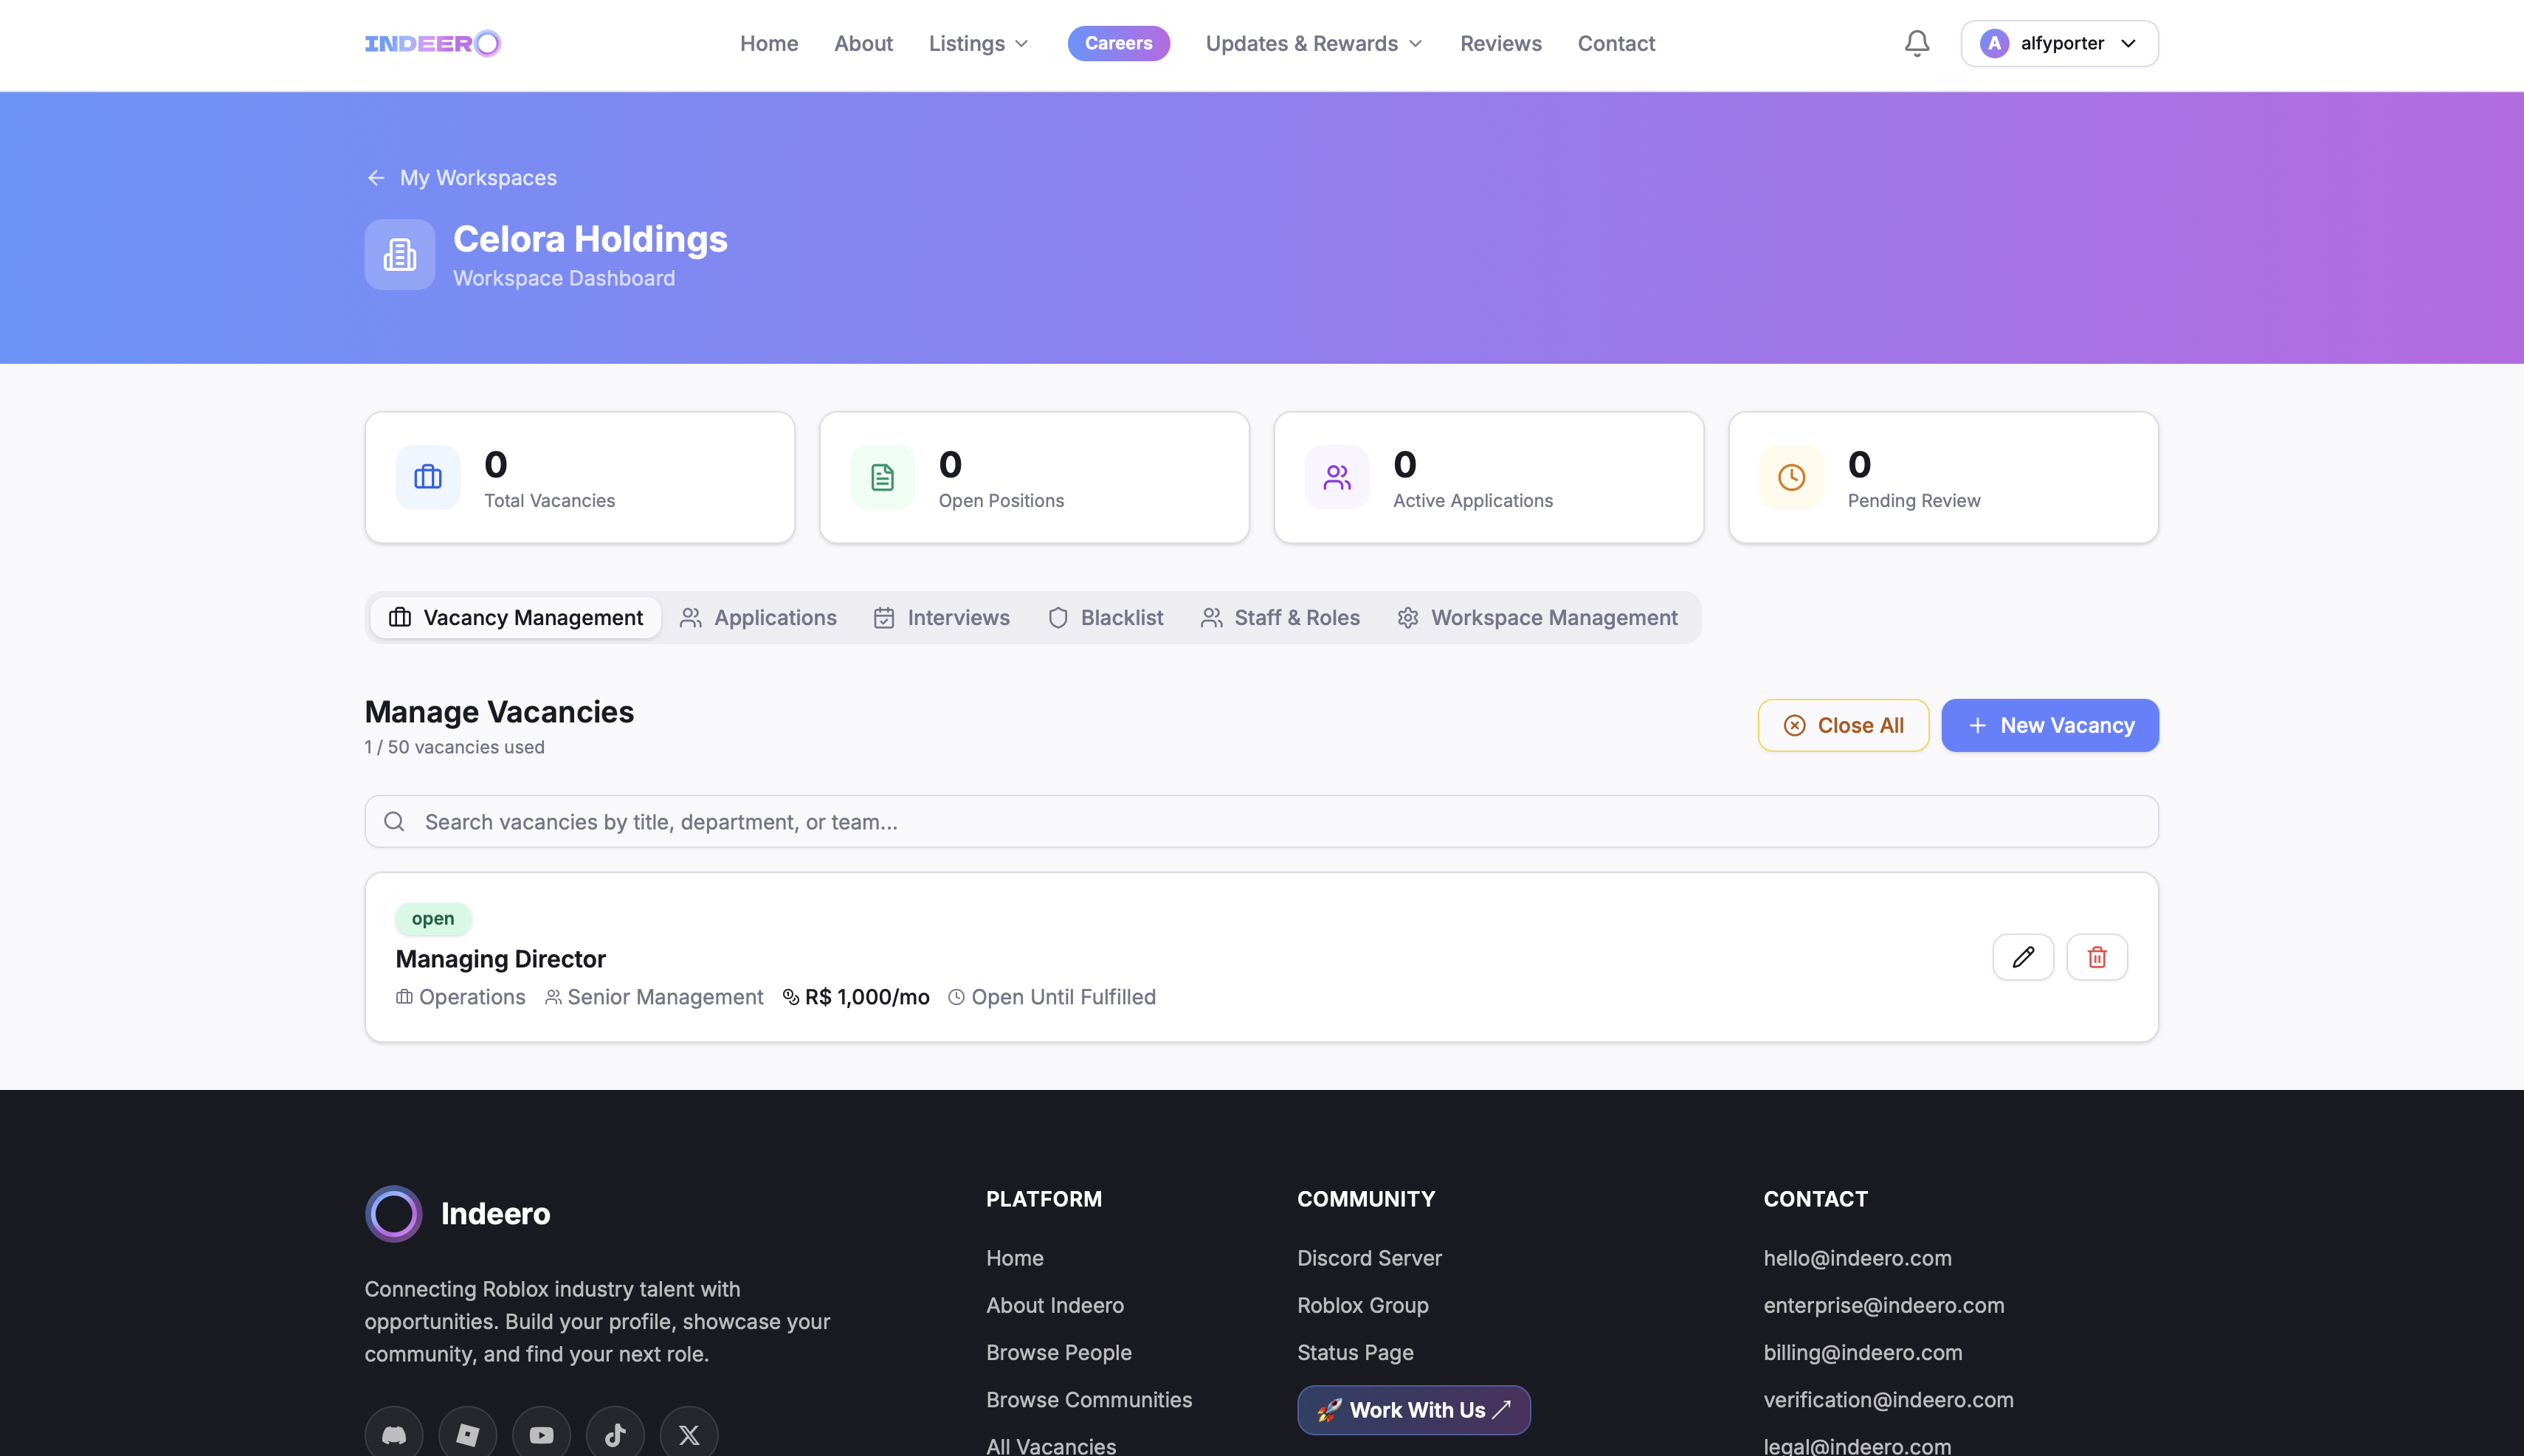
Your workspace has its own public page, and a private dashboard where your team manages vacancies, applications and staff.


Streamline Your Roblox Recruitment
Manage vacancies, applications, interviews and results — all in one dedicated workspace.
Make sure you have a listing first
You need a People Listing or a Community Listing on your account before you can create a workspace.
You also need an approved Community Listing to link the workspace to. A workspace must always be linked to an approved community listing — if that listing becomes inactive, the workspace is disabled until a new one is linked and approved.
Create the workspace
Go to Workspaces and click New Workspace. Fill in:
- Workspace name — shown on your public page and dashboard.
- URL slug — the address of your workspace page (/workspaces/your-slug).
- Roblox industry type — School, Store, Aviation, Hospitality, Development or Other.
- Linked community listing — the approved community this workspace belongs to.
- Logo and description.
Scroll to the bottom of the form and click Create Workspace to submit it.
Wait for approval
New workspaces start as pending. You can open your dashboard straight away and prepare everything, but vacancies are not published publicly until the workspace is approved.
Publish your vacancies
From your dashboard, open Vacancies and create a role — title, sub-role, department, team, employment type, Robux payment, positions available, description, requirements and benefits.
You can add custom application questions (free text, number, scale, multiple choice or tick boxes) and set a closing date or leave the role open until filled.
Published vacancies appear on the platform-wide Careers page and on your public workspace page, each with its own shareable link.
Build your team with roles and permissions
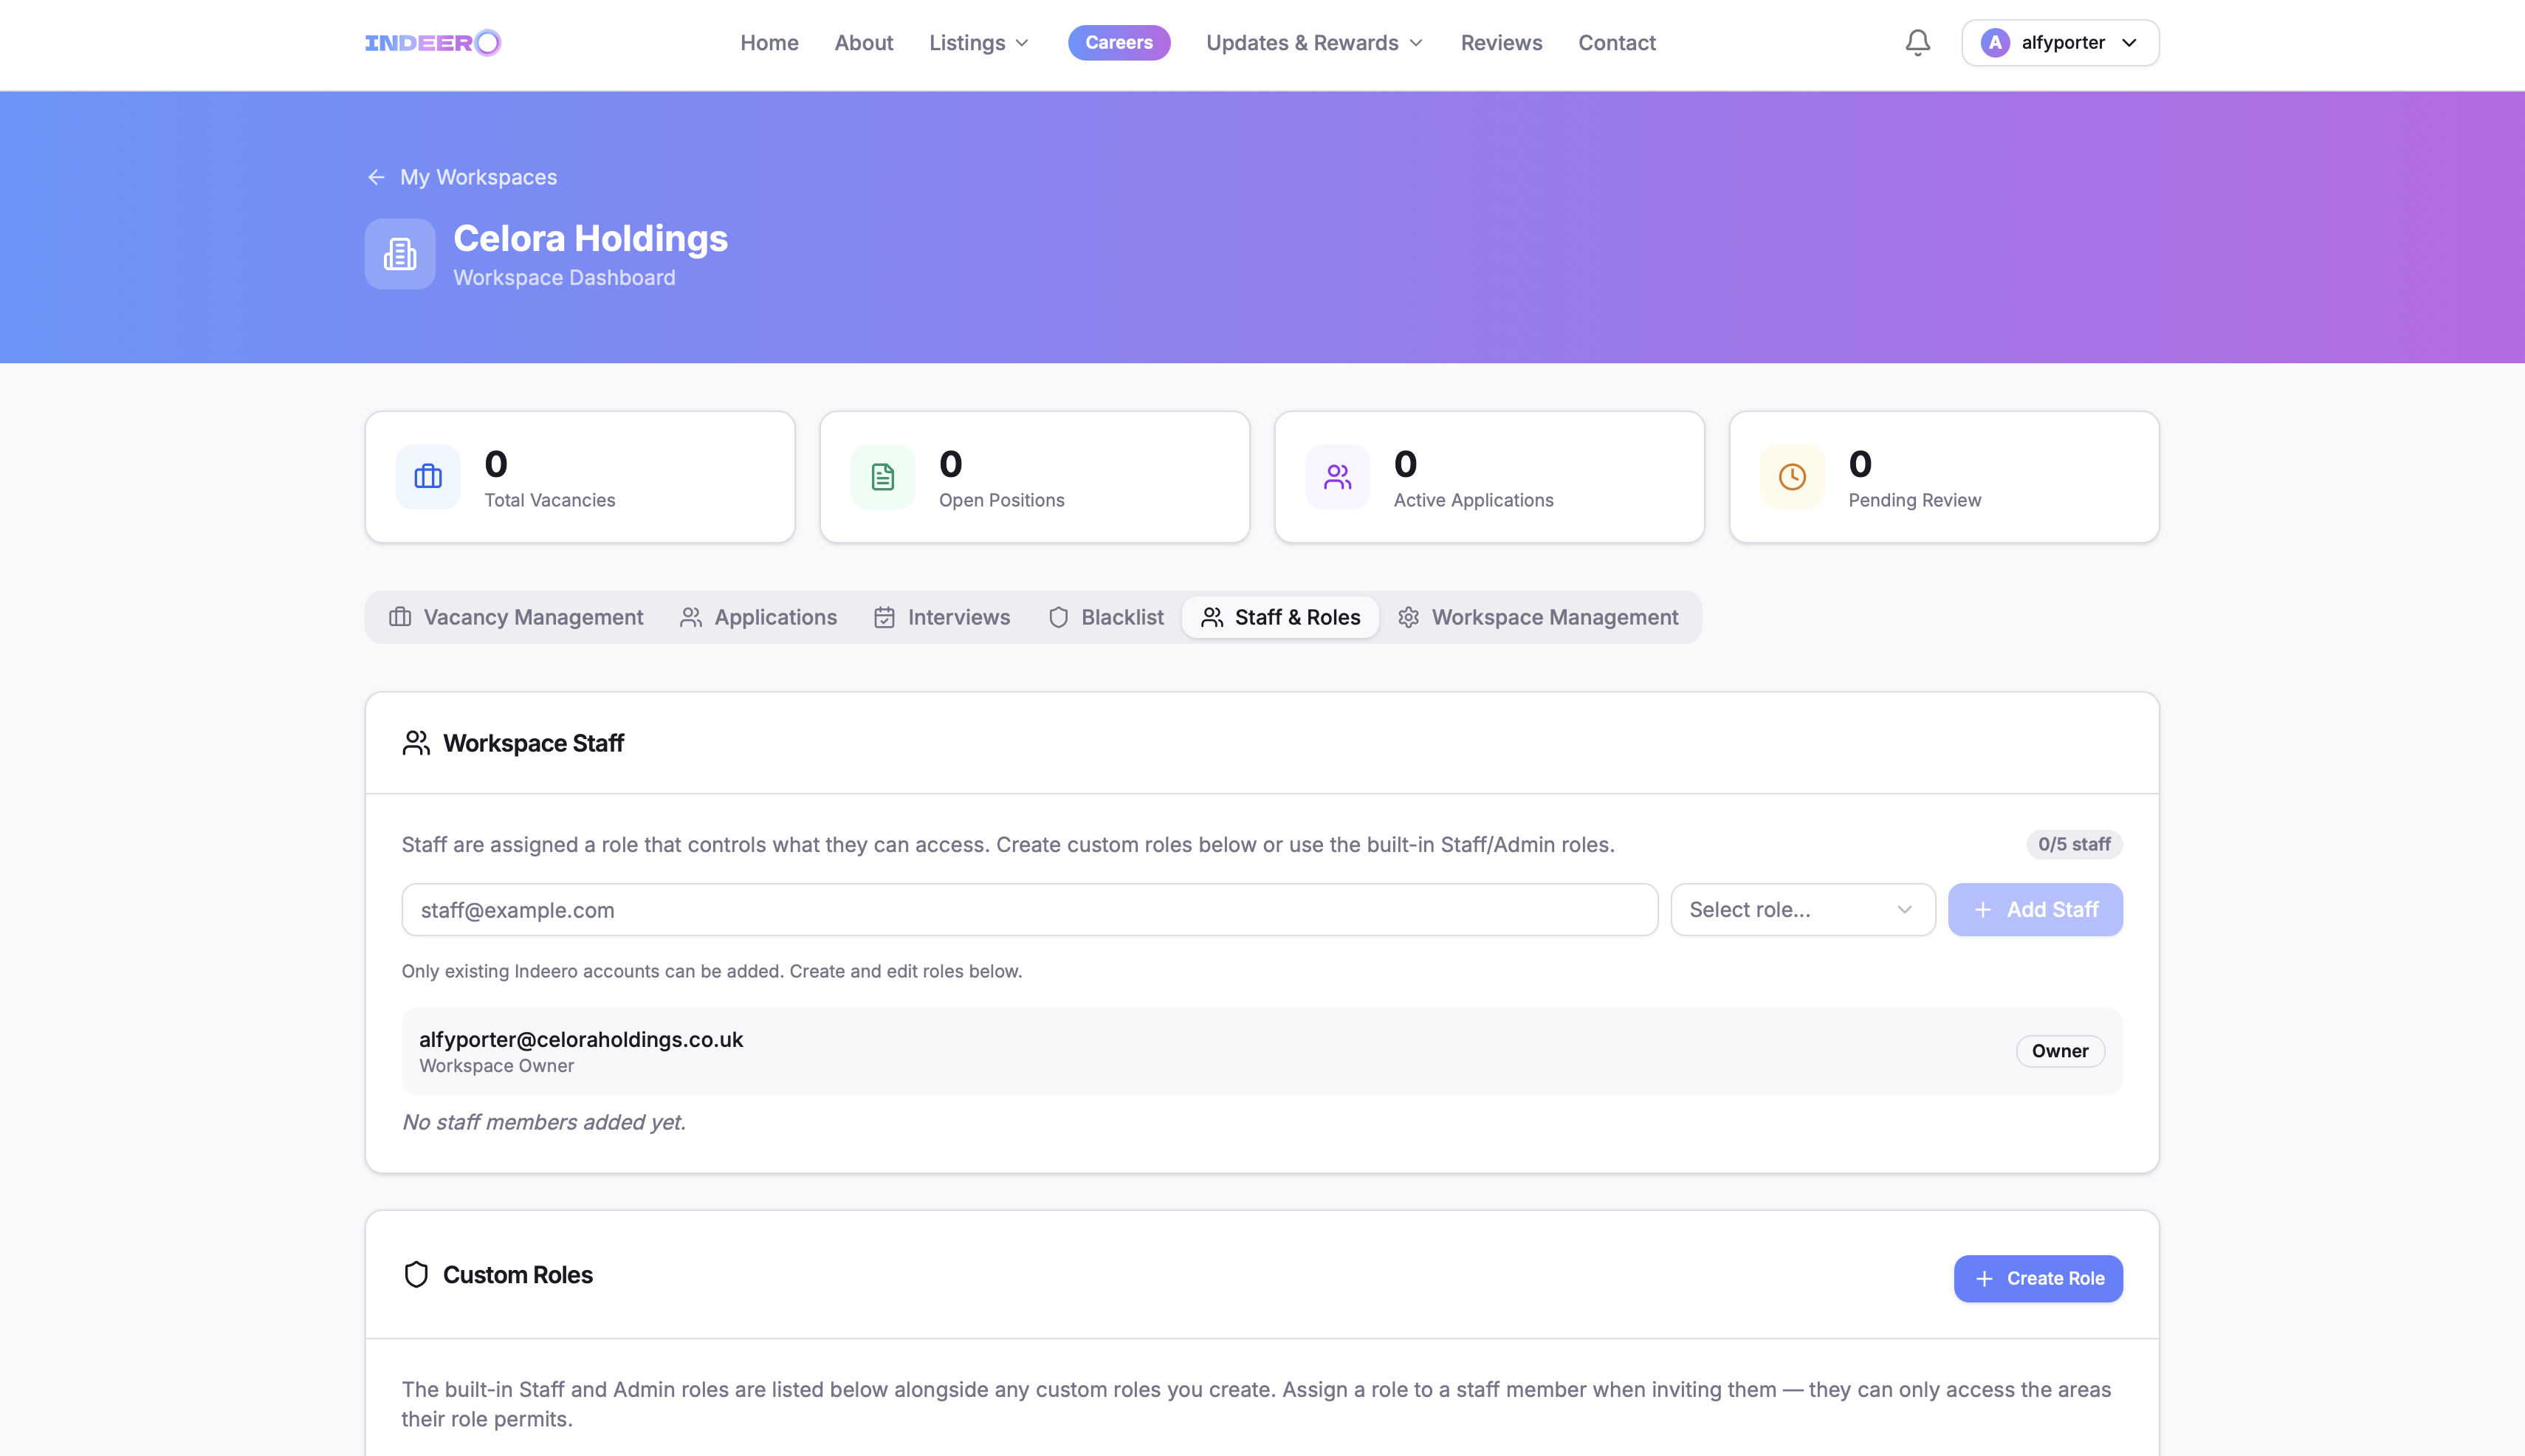
Open the Staff tab to invite team members. Create custom roles with exactly the permissions you want — vacancies, applications, interviews, messaging, blacklist, staff management and analytics — and rank them so junior staff can't out-rank senior staff.
Staff who already have an Indeero account are added immediately. Anyone without an account is invited to join first.
Manage applications end to end
Applications land straight in your dashboard — no more Google Forms or Microsoft Forms. Review full candidate profiles, shortlist, offer interviews, record outcomes and onboard accepted applicants, all from one place.